
How to Add Magnet Holes in Bambu Studio
June 19, 2026
Two ways to add magnet holes in Bambu Studio: cut a recess with a negative part, or pause the print to drop magnets in mid-print. Step by step.
There are two ways to add magnet holes in Bambu Studio. Cut a recess into the model with a negative part, or pause the print partway and drop the magnet in so it ends up sealed inside. This guide covers both.
Method 1: cut a recess with a negative part
This makes an open pocket you press or glue a magnet into after printing.
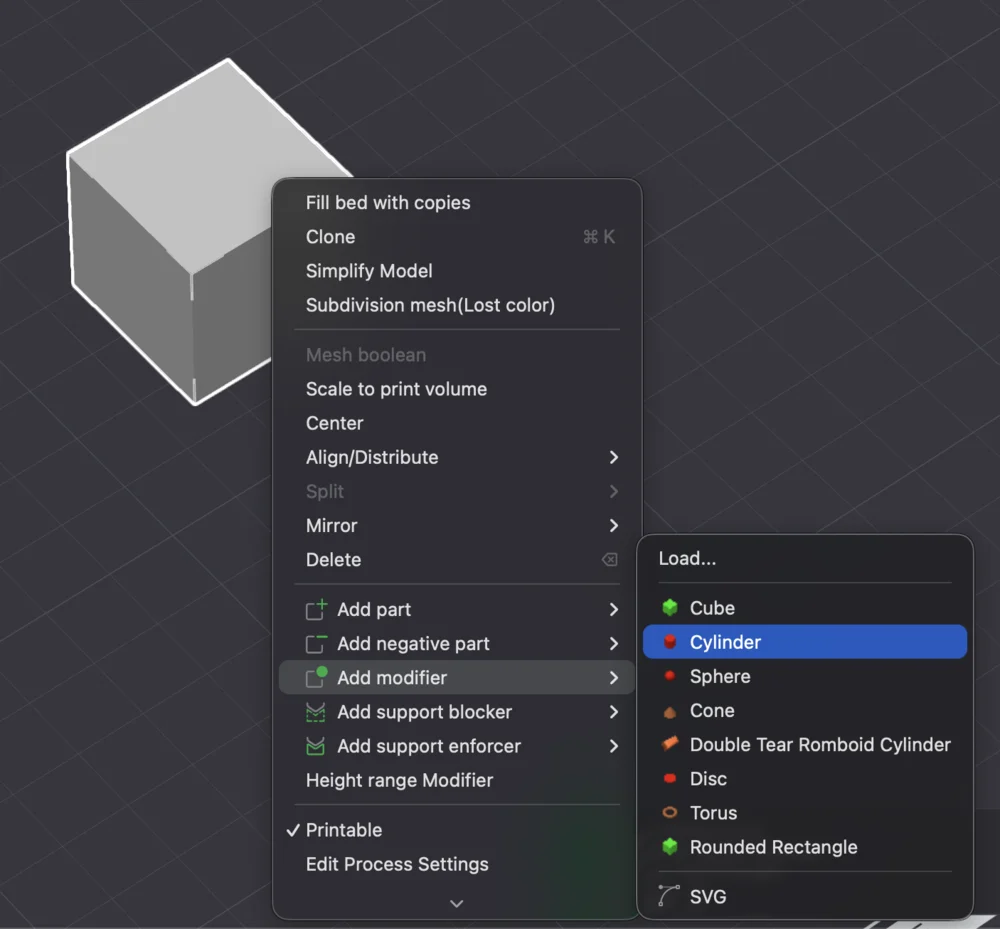
- Right-click the model and choose Add Negative Part, then a cylinder.
- Scale the cylinder to your magnet: diameter plus about 0.1 to 0.2 mm clearance, and height to the magnet thickness.
- Move it to where the magnet should sit. A negative part subtracts its volume from the model at slice time, so the cylinder becomes an empty pocket.
- Duplicate it for each magnet location.
This is the quick way to add magnet pockets to a model you did not design yourself. For a part you print regularly, modeling the pocket in CAD is cleaner.
Method 2: embed magnets mid-print with a pause
This seals the magnet fully inside the part, with no visible hole.
- Make a pocket (Method 1) sized so the magnet sits just below a layer that will later cover it.
- In the sliced Preview, find the layer where the pocket gets capped and add a pause at that layer.
- When printing, the printer stops at the pause, you drop the magnet into the pocket, and you resume. The next layers print over it and seal it in.
Mind magnet polarity before you drop it in, especially for mating parts, and keep magnets away from the nozzle and any steel components while the head moves.
Why this matters for a print farm
Mid-print pauses and manual insert steps are the enemy of an unattended farm: every pause is a print that needs a human standing by, which breaks the lights-out model a farm depends on. Where you can, design magnet pockets as open recesses (Method 1) so prints stay fully automated, and reserve embedded-magnet pauses for low-volume or premium items.
Printago is built around that kind of throughput: jobs route across the queue to whatever Bambu printer is free, sliced in the cloud with Bambu Studio or OrcaSlicer. For scaling Bambu machines, see the Bambu Lab print farm guide and running Bambu without a Pi.
Frequently asked questions
Sign up for free today
No credit card required. Connect unlimited printers and get production automation running in minutes.