
3D Printing From School Chromebooks
November 2, 2026
Run 3D printing from school Chromebooks with nothing to install. Students slice in the browser and queue to your printers, and every job shows who sent it.
You can run 3D printing from school Chromebooks by putting the slicer in the browser and the printers behind one shared queue, so a student needs only a Printago account and a tab. Desktop slicers don't install on most Chromebooks, and managed school fleets commonly block the Linux environment. That leaves a teacher or lab tech slicing every student's file by hand, on the one computer that can.
Set up the lab
- Create a Printago account for the lab. Each separate lab needs its own.
- Open Add-Ons > Marketplace and activate Classwork. It's a free add-on.
- Connect the lab's printers. See what must be connected first.
- Go to Admin > Team, click Invite User, enter the student's email, select the Student role, and click Send Invite.
- Open Classwork, click New Item, add the lesson's Parts, pick the Assigned Students, and switch the item to Published.
Invitations expire after 7 days, and an account can send up to 10 invitation emails a day. For a whole class, ask support, who can create student accounts for your school.
What students do
Students open Classwork, read the lesson, and click Open & print on a part. It takes them to the part, where Send to Queue adds it to your queue and Printago slices it for the printer it lands on.
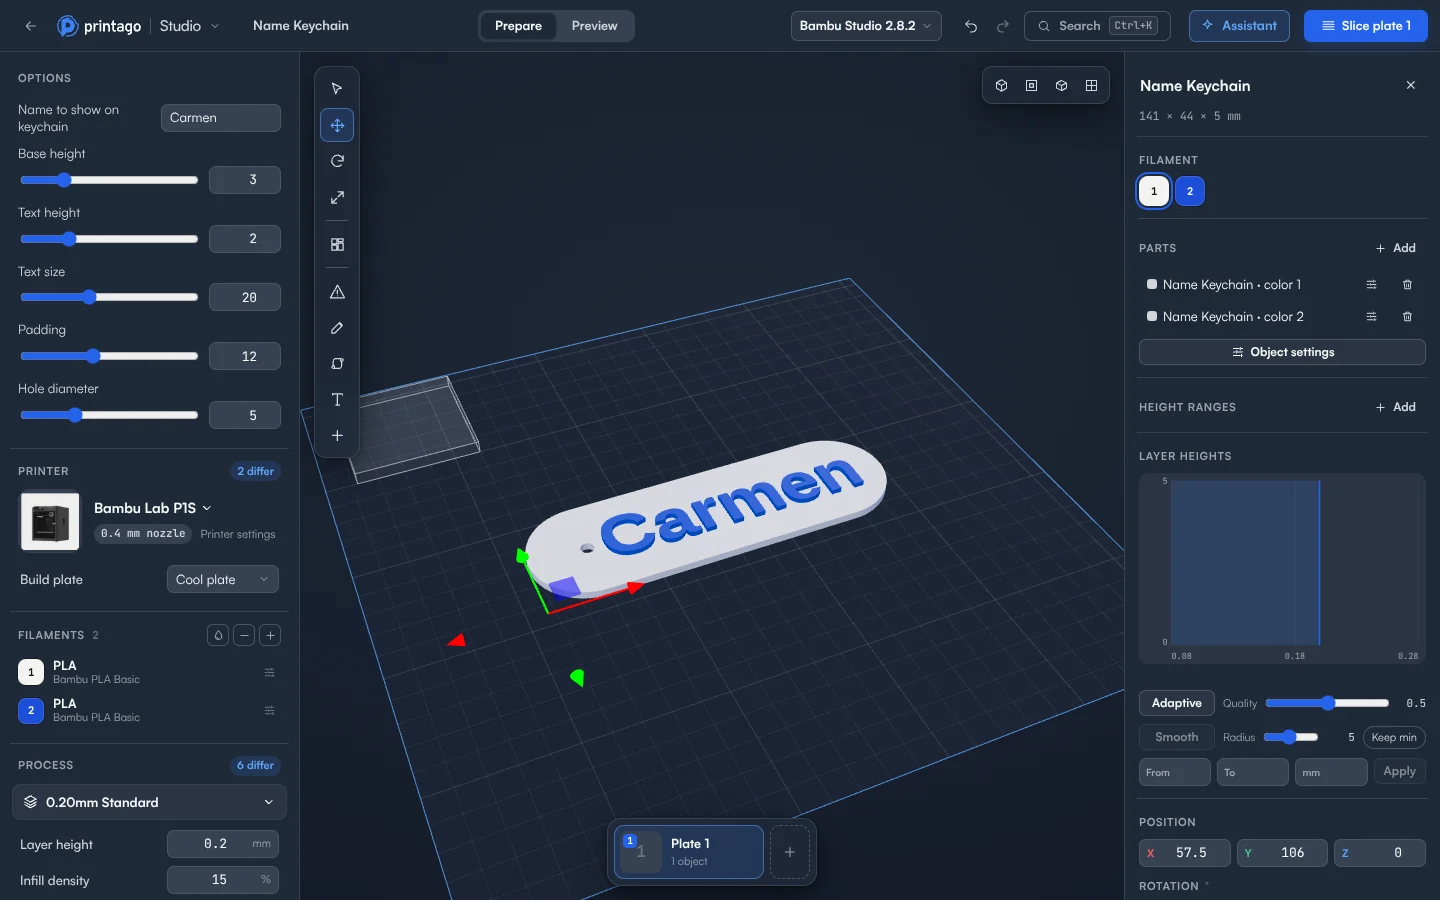
For personalized work, set up an OpenSCAD part, like a name tag. A student opens it in Printago Studio, changes the options, slices it, checks the layers, and clicks Add to Printago queue. That button appears only while the plate holds just that part: one copy, not rotated or scaled, with nothing added. If Printago Studio isn't in your sidebar, ask Printago support to turn it on for your organization.
What you keep control of
- Printers and queue. Students can't control printers, change settings or reorder the queue. They can cancel or remove only their own jobs.
- Who printed what. Every job shows a chip with the student's email.
- Your files. Students can't download part files or create parts.
- Look only. Use the Viewer role for students who shouldn't print.
What to plan around
- Other parts. In Printago Studio, the Student role opens OpenSCAD parts and files from the student's own computer. Other parts need permission to download part files, so those print through Open & print.
- Local files. A student's own file can be sliced and its G-code downloaded, but it can't go into the queue.
- Shared queue. Students see every printer, part and job in the lab, and every class in that lab shares one queue.
- Slicing and rendering time. You get 60 minutes of cloud slicing and rendering time a month free, and more on a paid plan, shared across the lab. Jobs sliced by your print queue don't count, so have students use Send to Queue for routine work.
- Shared Chromebooks. A sign-in lasts up to 12 hours. Between classes, open the File menu, click your store at the bottom, and click Sign out.
Why this suits a lab
Printago is 3D print farm software that runs production from order to finished print. A school lab gets the same queue. The lab runs without you at every step. Read the docs on Classwork, education setup and Printago Studio.
Create a free Printago account for your lab and invite your first class.
More Chromebook guides
Read the Printago Studio, or browse all slicer guides.
Frequently asked questions
Sign up for free today
No credit card required. Connect unlimited printers and get production automation running in minutes.